Backlashes can be really frustrating, especially when they cause you to lose a nice fish, which is what happened to me when a big steelhead trout slammed my bait and took off like a bolt of lightening on the Campbell River on Vancouver Island. Of course, it was over in a flash, the fish having snapped my line while I was dealing with a messy bird’s nest, a pileup of line, which had occurred at the end of my cast. Oh well, we live and learn, right?
- The Reason for My Debacle
- What is a Backlash?
- Get to Know Your Baitcasting Reel
- How to Adjust Spool Tension
- Baitcasting Reel Braking Systems
- Centrifugal Braking Systems
- Magnetic Braking Systems
- Digital Braking Systems
- Adjusting the Braking System
- Develop Your Technique
- How to Make a Sidearm (Roll) Cast
- How to Make an Overhead Cast
- Conclusion
- We’re Here to Help!
The Reason for My Debacle
Of course, the reason for my debacle is that I was entirely ignorant on how to use a baitcasting reel. Well, I’ve learned a bit since then, and in the interest of saving you some pain, I’m going to tell you how to adjust your baitcasting reel and cast with a minimum of backlashes. The three steps to making great casts are to first get to know your reel. Second, learn how to adjust your reel. Third and most importantly, you need to practice casting and develop your technique.
What is a Backlash?
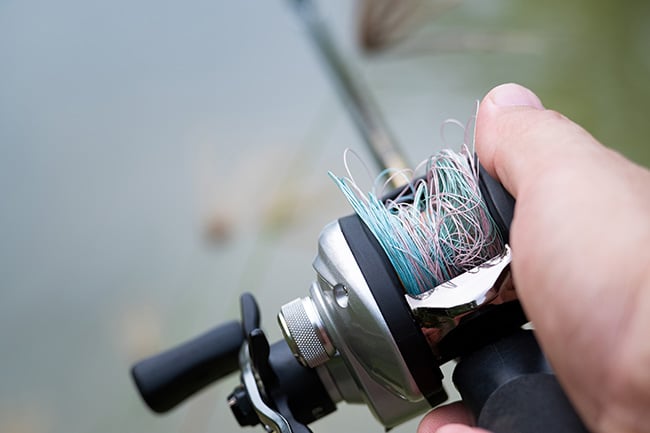
A fishing reel backlash, also known as a bird's nest, occurs when the fishing line on a baitcasting reel becomes tangled, resulting in a mess of loops and knots. It typically happens when the spool rotates faster than the line can unwind, often due to improper casting technique or adjustments to the reel's spool tension or braking system. When the lure slows down or stops while casting, the spool continues to spin, causing the line to pile up and create a backlash.
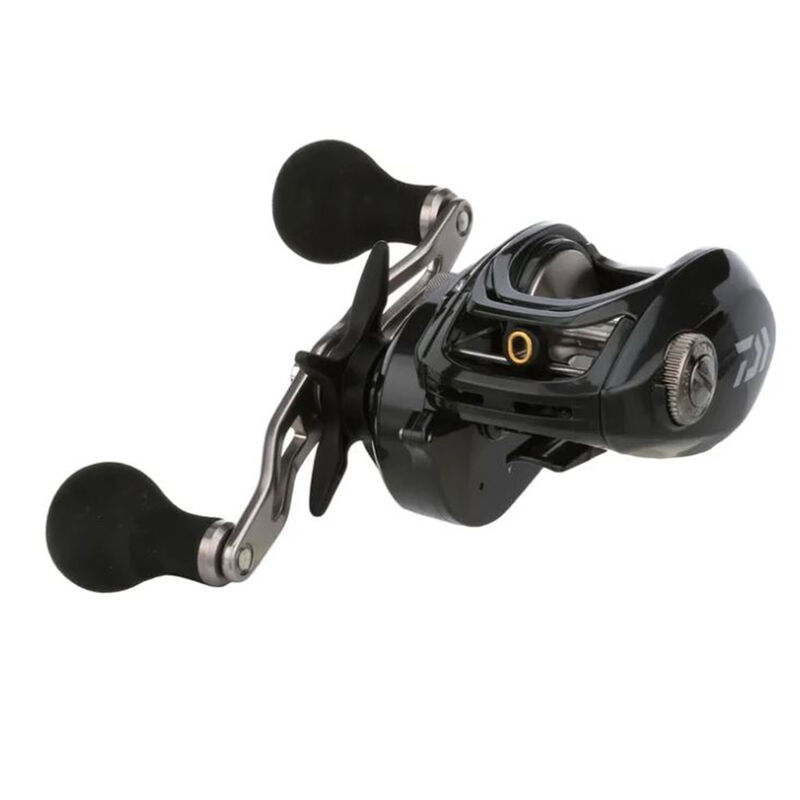
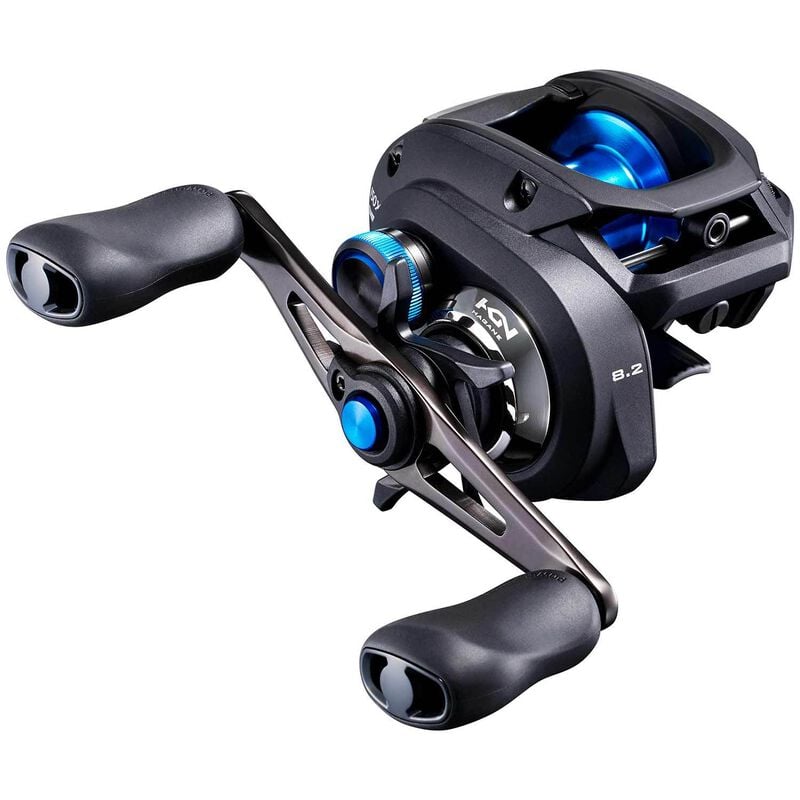
Get to Know Your Baitcasting Reel
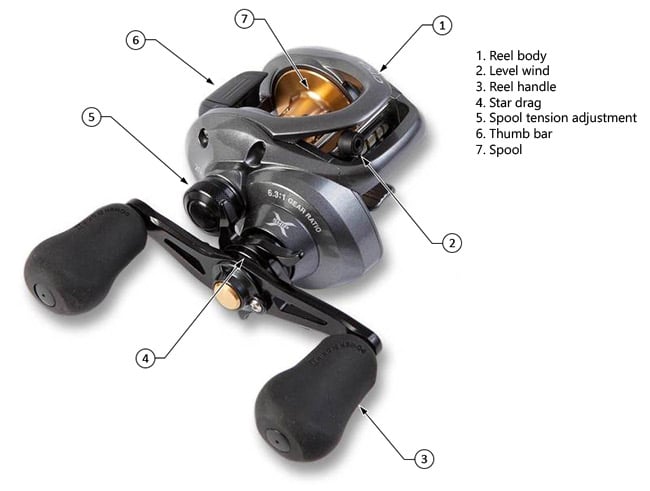
As mentioned above, backlashes can occur due to poor casting technique or improper adjustment of the spool tension or braking system. Hence, it is imperative that you familiarize yourself with how to make these adjustments.
How to Adjust Spool Tension
The adjustment knob for spool tension is usually located on the side plate of the reel near the cranking handle. Here is the basic procedure for adjusting spool tension:
- Set up your rod and reel and tie on one of your preferred lures.
- Tighten the spool tension knob by turning it clockwise.
- Hold the rod parallel to the ground with the lure hanging a few inches below the rod tippet.
- Depress the thumb bar or release button to disengage the spool.
- Loosen the spool tension knob by turning it counterclockwise until the lure begins to descend toward the ground.
- When the lure hits the ground, the spool should stop turning. If the spool continues to turn, turn the adjustment knob clockwise to increase tension (resistance) on the spool and repeat the process until the spool ceases to turn when the lure hits the ground.
Note: If in the course of fishing you switch to a lure that is significantly heavier or lighter than the one you used in the above procedure, readjustment of spool tension will be needed.
Baitcasting Reel Braking Systems
Along with spool tension, most baitcasting reels have a braking system that controls how fast the spool turns during a cast. There are three types of braking systems: centrifugal, magnetic and now, on some reels, digital.
Centrifugal Braking Systems
Centrifugal braking systems use small weights or brake shoes inside the reel that are activated by centrifugal force during a cast. As the spool spins faster, the weights move outward, creating friction that slows the spool down. One some reels, the centrifugal braking system cannot be adjusted; however on most, they can be adjusted with a knob on the side plate. In certain cases, removal of the side plate is necessary for adjustment.
Magnetic Braking Systems
Magnetic braking systems use magnets positioned near the spool to control its speed. By adjusting the distance between the magnets and the spool, you can regulate the braking force. Magnetic brakes often can be adjusted externally through a dial or knob on the side plate of the reel. However in some cases, the side plate must be removed for adjustment.
Digital Braking Systems
Digital braking systems use sensors to detect spool speed and apply braking force electronically. They offer fine-tuned control and can adjust braking in real-time during the cast.
Adjusting the Braking System
Regardless of the type of braking system you have, as one who is new to baitcasting, we suggest you adjust your braking system to a moderate or heavy setting which you can reduce as you gain expertise with your casting technique.
Develop Your Technique
Just like tennis players who work on their forehand or backhand stroke or golfers perfecting their swing, becoming proficient at baitcasting takes practice. The two most common casts used by anglers are the overhead and sidearm or roll cast.
How to Make a Sidearm (Roll) Cast
For making casts with a low, relatively flat trajectory in order to land your lure under a dock or overhanging cover, this cast works well.
- With your spool tension and braking system adjusted as described above, hold your rod parallel to the water with it pointing toward your target and with the lure hanging 1–2 feet below the rod tip.
- With the reel in free spool mode and with your thumb on the spool, quickly draw your rod back in a sideways motion and then quickly propel it forward and slightly upward; and at around the 10 o’clock position (in relation to your target which is at 12 o’clock) release your thumb from the spool.
- Immediately after releasing your thumb from the spool, begin to lightly feather the spool with your thumb as your line pays out.
- Just before your lure hits the water, stop the spool from spinning with your thumb.
How to Make an Overhead Cast
For making long arcing casts over open water that is free of obstructions, this is the preferred cast.
- With your spool tension and braking system adjusted as described above, hold your rod parallel to the water with it pointing toward your target and with the lure hanging 1–2 feet below the rod tip.
- With the reel in free spool mode and with your thumb on the spool, quickly draw your rod back over your shoulder to where it comes to a 3 o’clock position behind you, and then quickly propel it forward, and at around the 10 o’clock position release your thumb from the spool.
- Immediately after releasing your thumb from the spool, begin to lightly feather the spool with your thumb as your line pays out.
- Just before your lure hits the water, stop the spool from spinning with your thumb.
Apart from these two casts, there are other casts that you will learn as time goes on. These include the underhand pitch cast, which is good for confined, cramped areas and an advanced cast called the “skip cast” which as the name implies, skips the lure across the water in order to get it to land under low hanging cover.
Conclusion
Mastering baitcasting reels takes patience and practice, but with the right adjustments and casting techniques, you can minimize frustrating backlashes and make accurate casts. Remember to adjust your spool tension and braking system appropriately, and practice your casting technique regularly to improve your skills.
We’re Here to Help!
West Marine is the perfect place to get ready for your next fishing trip. From the latest in fishing reels, to free line spooling and locally assorted tackle in most of our stores, we have the expertise you need to get ready. Use our store locator to find a store near you.
Related: